This is an Eval Central archive copy, find the original at freshspectrum.com.
This is the first in a series of posts on data design in Canva. Today I’ll show you how to use Canva to create Power Point templates.
Power Point is certainly the most designer friendly tool out of Microsoft Office’s big three (Word, PowerPoint, and Excel). When working with clients hesitant to leave the comforts of the tools they know, it’s often my tool of choice for visual reports.
But working in Canva just makes the whole design process a heck of a lot easier (and faster). Lucky for us, there is no reason to choose between the two. We can have both!
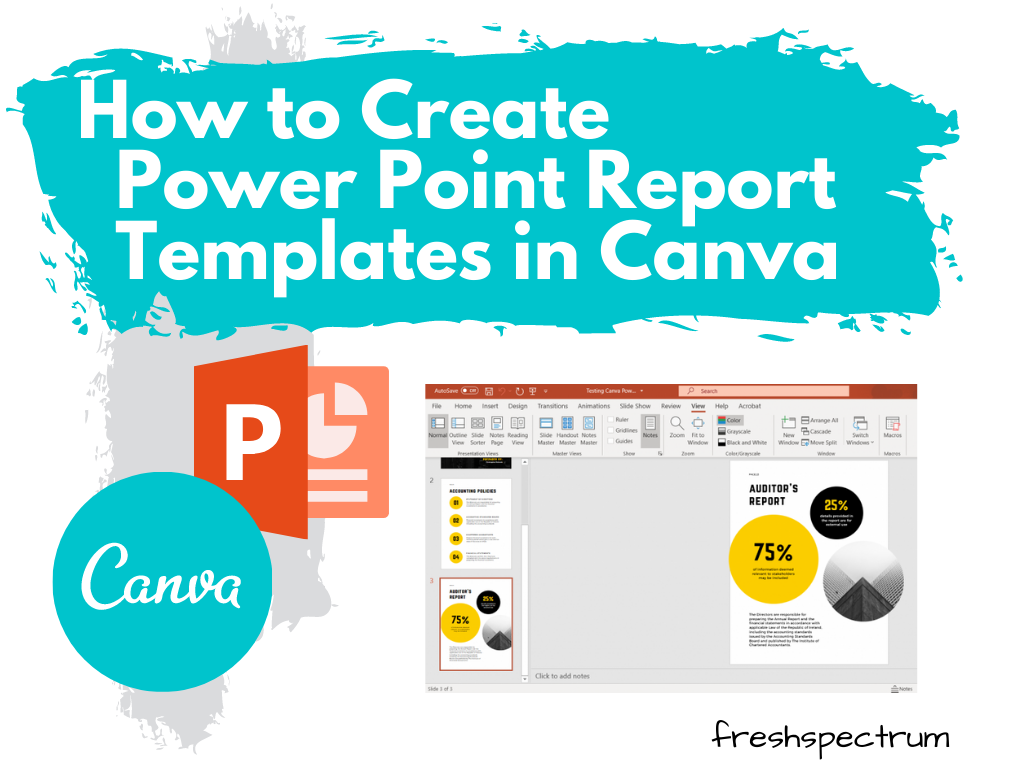
Choose your report size.
Okay, so go to Canva.com (sign up for an account if you don’t have one already) and pick a size. Reports come in all shapes and sizes these days so you don’t have to default to letter size (8.5 x 11).
But for the sake of this example, we’ll just choose the “Report” option.
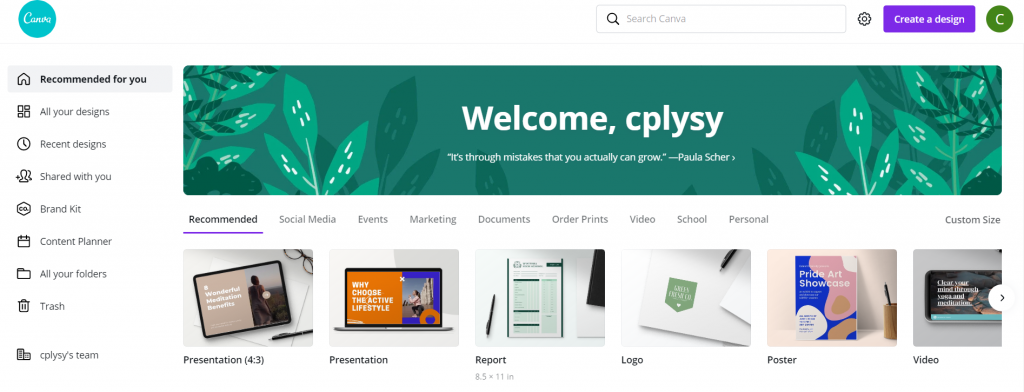
Pick out a Base Template
Templates are what make designing in Canva so easy. They take care of a lot of the visual design grunt work, so we can just pick a style we like and adapt for our purposes.
You’ll see the templates on the left side of the page. Some templates (especially report templates/presentation templates/magazine templates) include multiple page styles. Hovering your mouse over a template will scroll through the internal page options (if it has any).
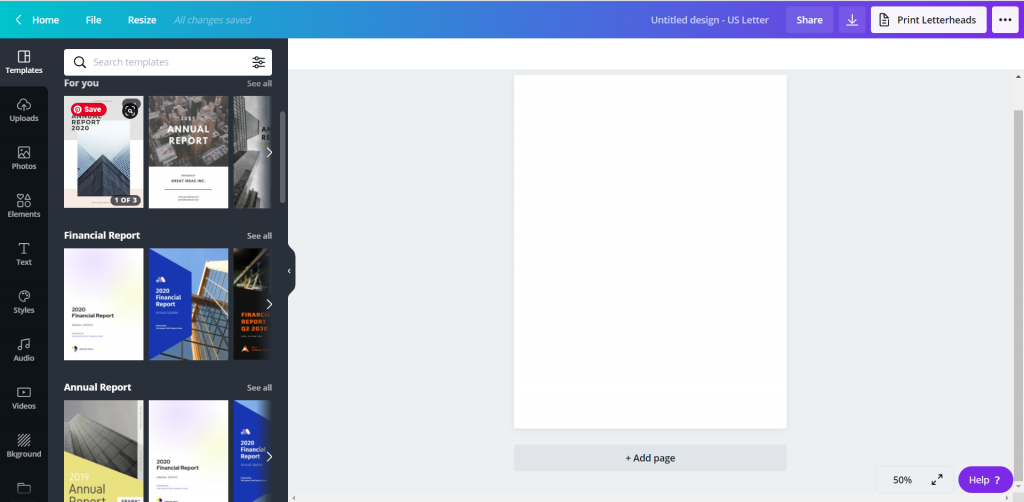
Choosing the Pages
When you pick a template, you have the option to go page by page adding in the template. Or you can just click the “Apply all…” button to give yourself a base to start.
Tweak the Template to Meet Your Needs
Now that you have a base, just tweak the template for your own purposes.
Change colors, pictures, fonts, text, and add your logos. The templates can give you the start, a base aesthetic, but you can really make it your own.
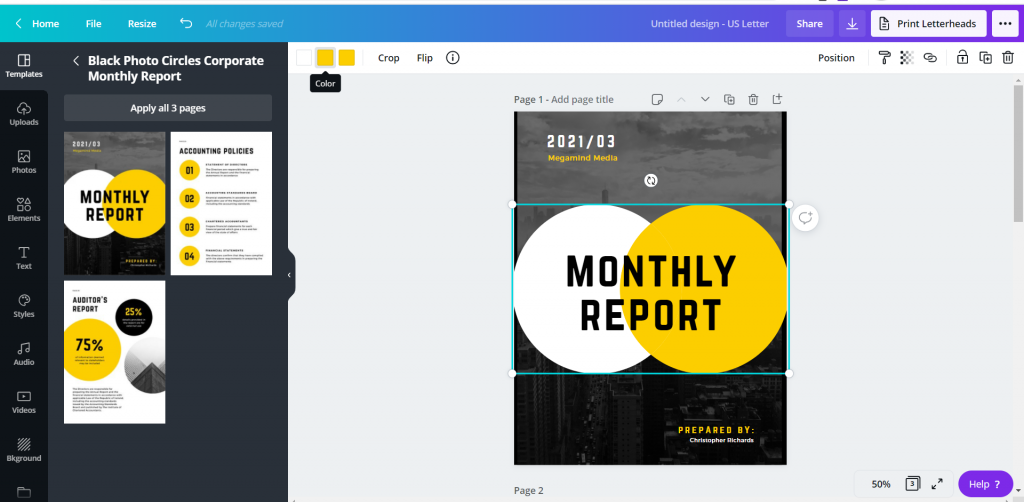
Downloading the PowerPoint
So the basic download options in Canva include image and print standards (PNG, JPG, PDF). These are always the best way to ensure your formatting is maintained in final versions. So you won’t find the PowerPoint option when clicking “Download.”
Saving it to PowerPoint is less about design control, and more about creating something that can be easily altered/adapted by others after you are finished your work. To reach it, instead of clicking download, you are going to click the “…” menu button in the upper right hand of the screen.
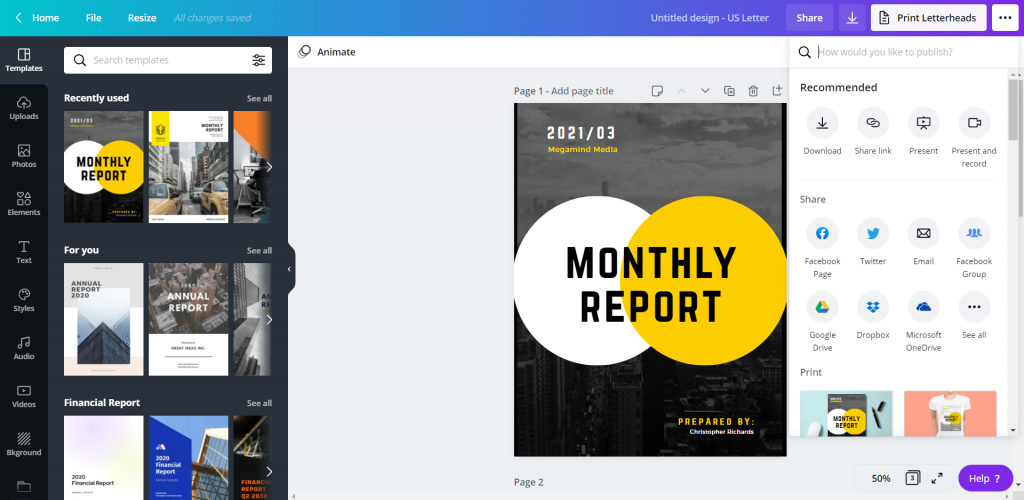
Under the “Share” options you will see another “…” button for “See all.” Click on that.
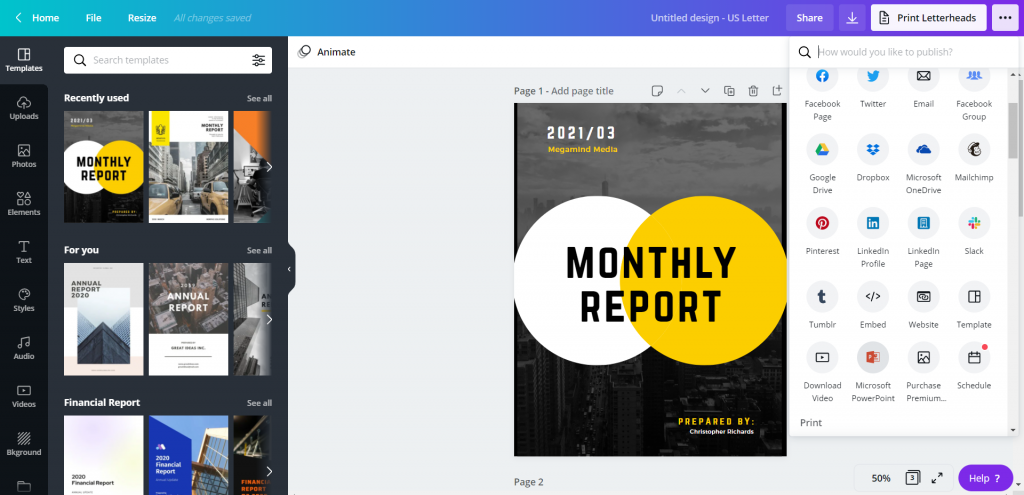
Find the save to Microsoft PowerPoint. When you click that, you’ll have the option to select the pages you want to download (or just download all pages).
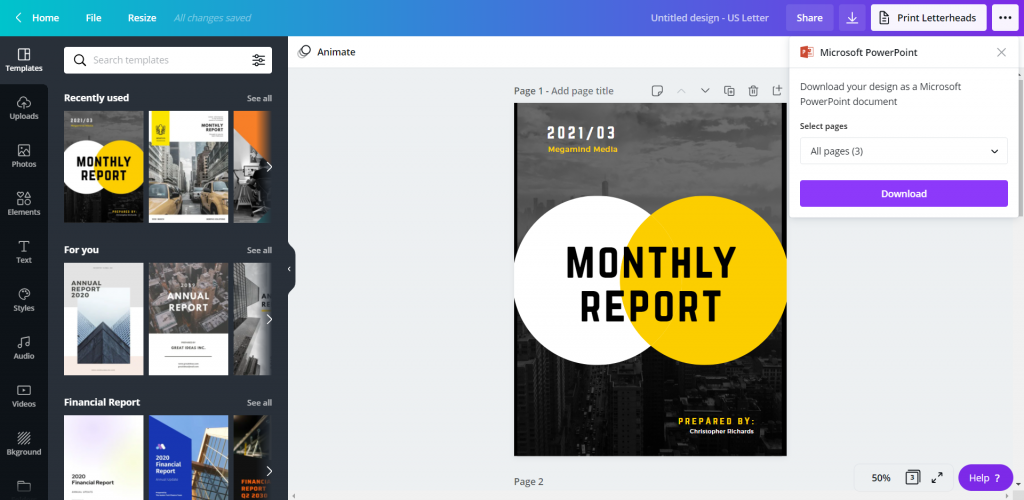
Click download and you’ll have a new pptx file on your computer.

Checking the File in PowerPoint
So it’s not always a perfect conversion, but it’s really close.
Depending on the fonts you have chosen in Canva, and the fonts you have on your computer, the text might get a little wonky. Shapes might also come in with different colors.
Canva also doesn’t show you when a shape extends outside the border of a file, but PowerPoint will. Don’t freak out when you see a shape extend off the edge, it won’t print that part.
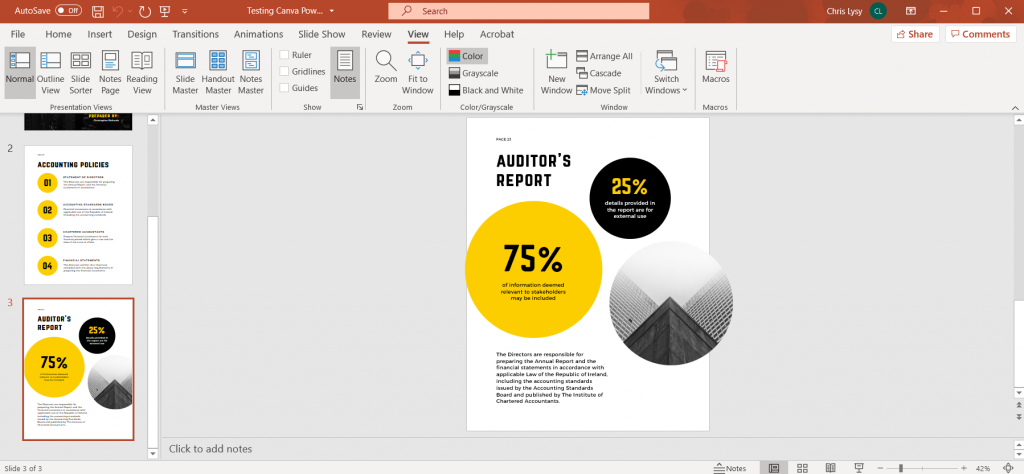
Some of the shapes, even though they might not be initially editable in PowerPoint can be converted with a right click (Convert to Shape). Like for the Venn on the front of this report which inexplicably changed color on the download.
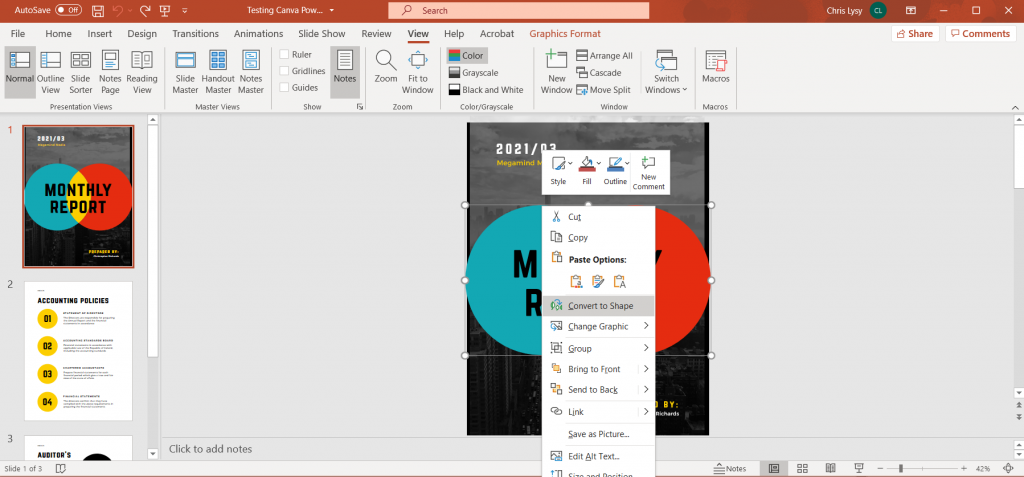
Sure it’s wonky, but that’s an Office product for you.
We make tradeoffs all the time. By switching over to PowerPoint, you miss out on some of the stuff that’s easy in Canva. And neither is as technically clean as working in a vector program like Adobe Illustrator or XD.
But PowerPoint is a known quantity for over a billion people, and as with everything software, there is a power in numbers.
![Freshspectrum Cartoon by Chris Lysy inspired by Stephanie Evergreen.
"Why don't we go with purple for the slide backgrounds?"
"What a coincidence, purple's my favorite color." [lady wearing lots of purple]](https://freshspectrum.com/wp-content/uploads/2021/02/Photo-Jan-31-6-54-57-AM-1024x768.png)